TMH Industries Gravel Grid Foundations


Gravel Grid Driveway Install Guide

Step 1
BASE PREPARATION
For base preparation, level and clear the area, then excavate and compact allowing for base material, grid height (varies depending on grid selected), and an additional 10mm (1/2") surface dressing of aggregate. Level the cleared surface with compacted road crush (min. 2" (50 mm ) depth for residential driveways) to ensure a smooth, structural base. Sharp sand for leveling is optional (and typically only used for residential pathway installs - using our Gravel path foundation).

Step 2
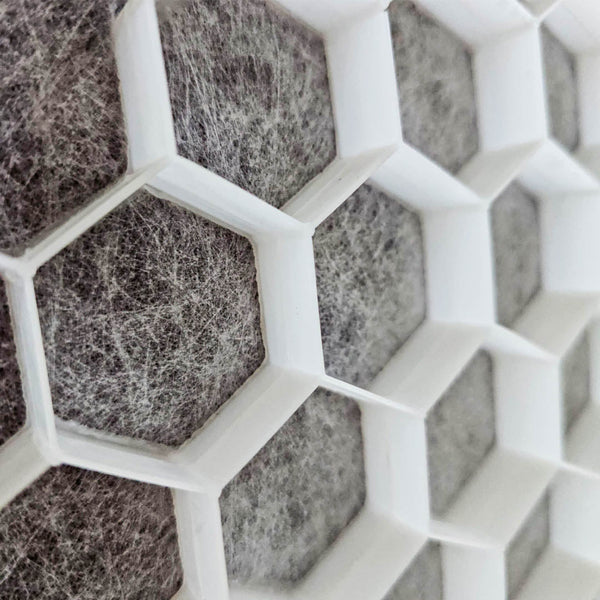
PLACE THE PANELS
Lay the panels with the geotextile face down, aligning the first row against a stationary edge if possible. Cut to shape wearing protective gloves to avoid abrasions. Stagger panels in a bricklayer pattern and clip together using the interlocking connectors on all sides to form one continuous matrix.
Ensure the overlapping edge of the attached geotextile membrane is flat to receive the next panel. The panels should should sit 10mm (1/2") below the adjacent surface to allow for gravel coverage. Gravel Foundations can be laid on slopes up to 20 degrees (40%) without the need for ground pegs.

Step 3
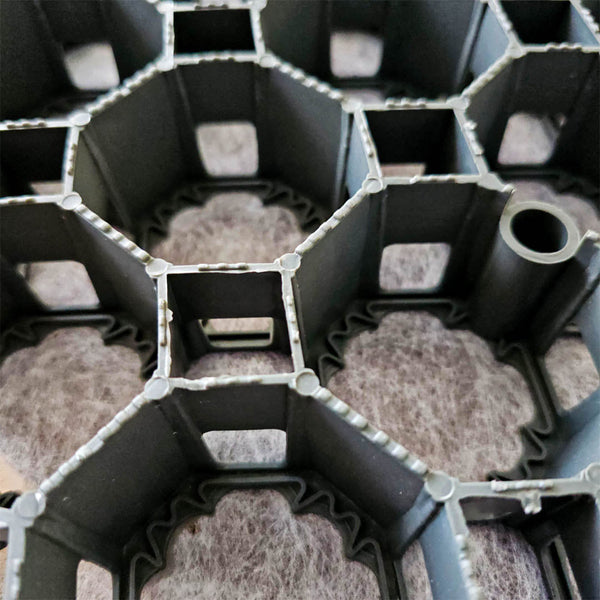
FILL THE CELLS
Infill fractured or pea gravel into the hexagon cells by hand, or directly from a truck or bobcat. Trucks and bobcats should be careful to avoid sharp turns on unfilled panels.
Preferably the truck should dump gravel first on the edge of the installation area, then work inward, thereby only driving on filled cells. Gravel can be spread by hand with flat shovels, rakes, blades, or stiff brooms.

Step 4
SMOOTH THE SURFACE
Level the gravel to cover the panels by 10mm (1/2") so that they are just out of sight. This allows for aesthetics, stability and protection. Optionally, a vibrating compaction plate or roller can be used to set the gravel into the cells.